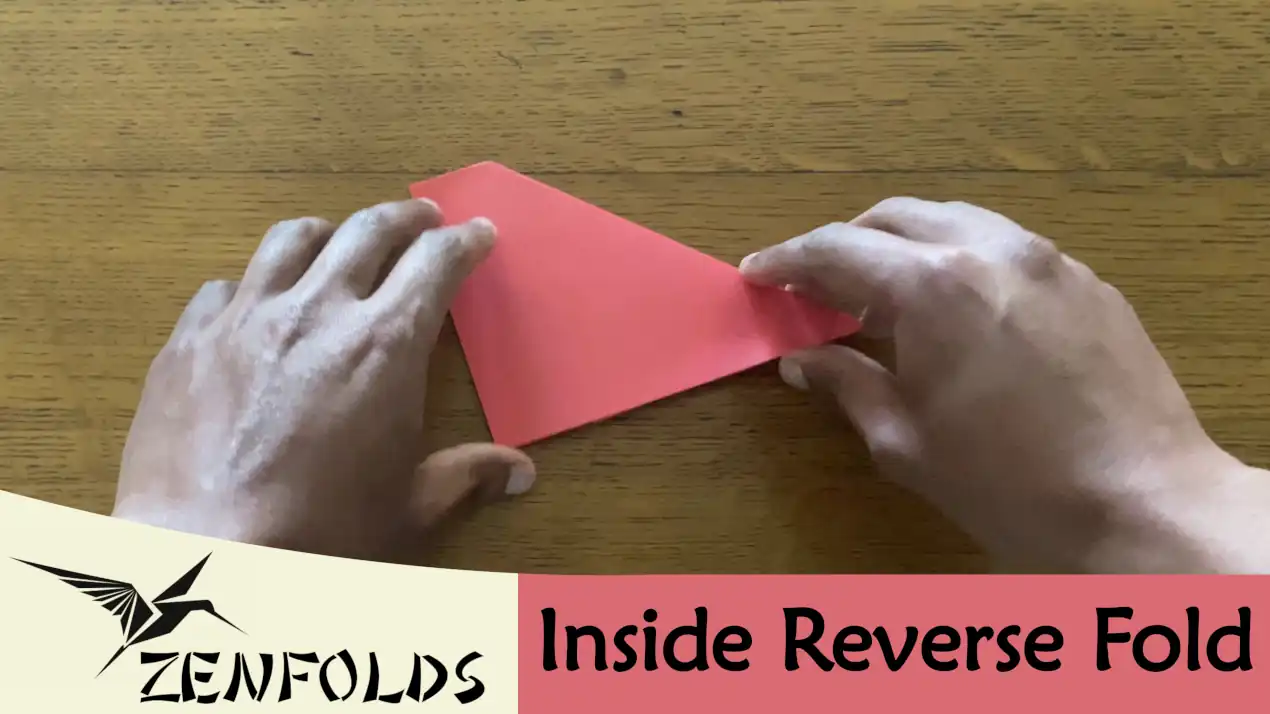
The inside reverse fold is a crucial Origami technique that allows for the final shaping and detailing of a model. By reversing a fold and concealing it within a structure, it allows you to make a more realistic 3D model.
There are two methods to the inside-reverse fold. Tucking a flap and Folding a point.
Tucking a Flap Inside
- Start with a rectangular sheet of paper and rotate it so that the shorter sides are horizontal.
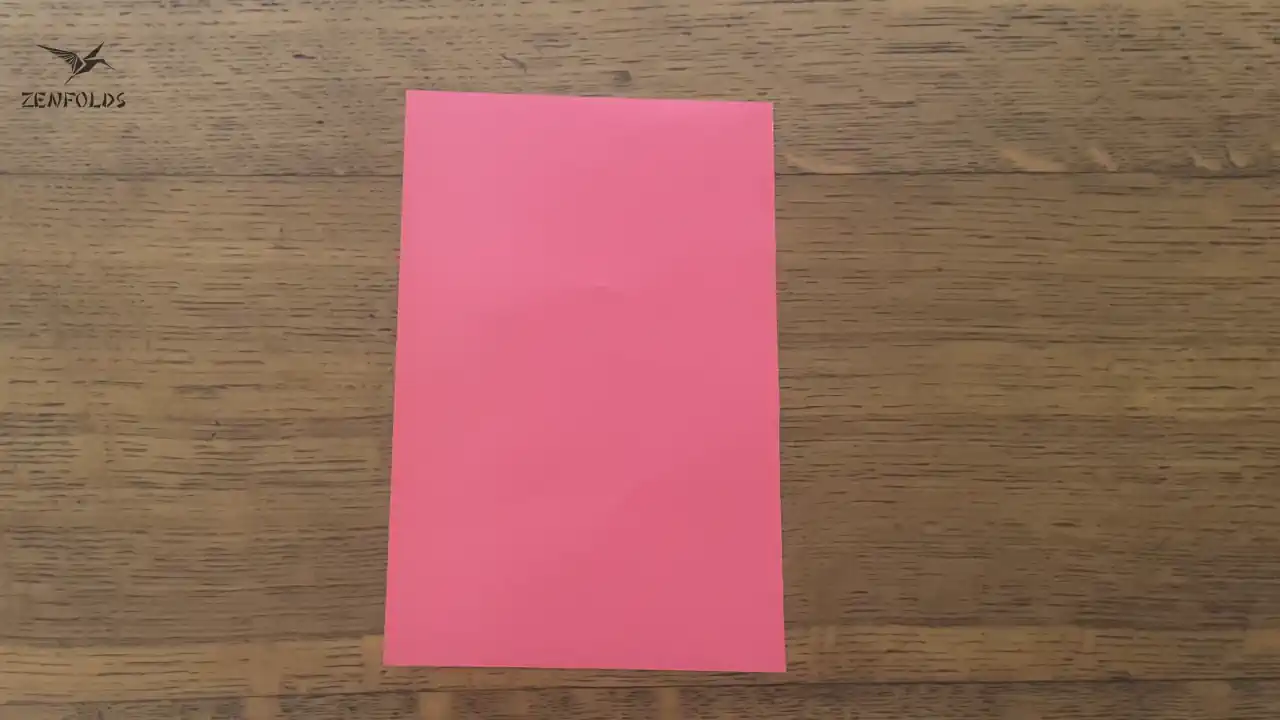
- Fold the paper in half from top to bottom.
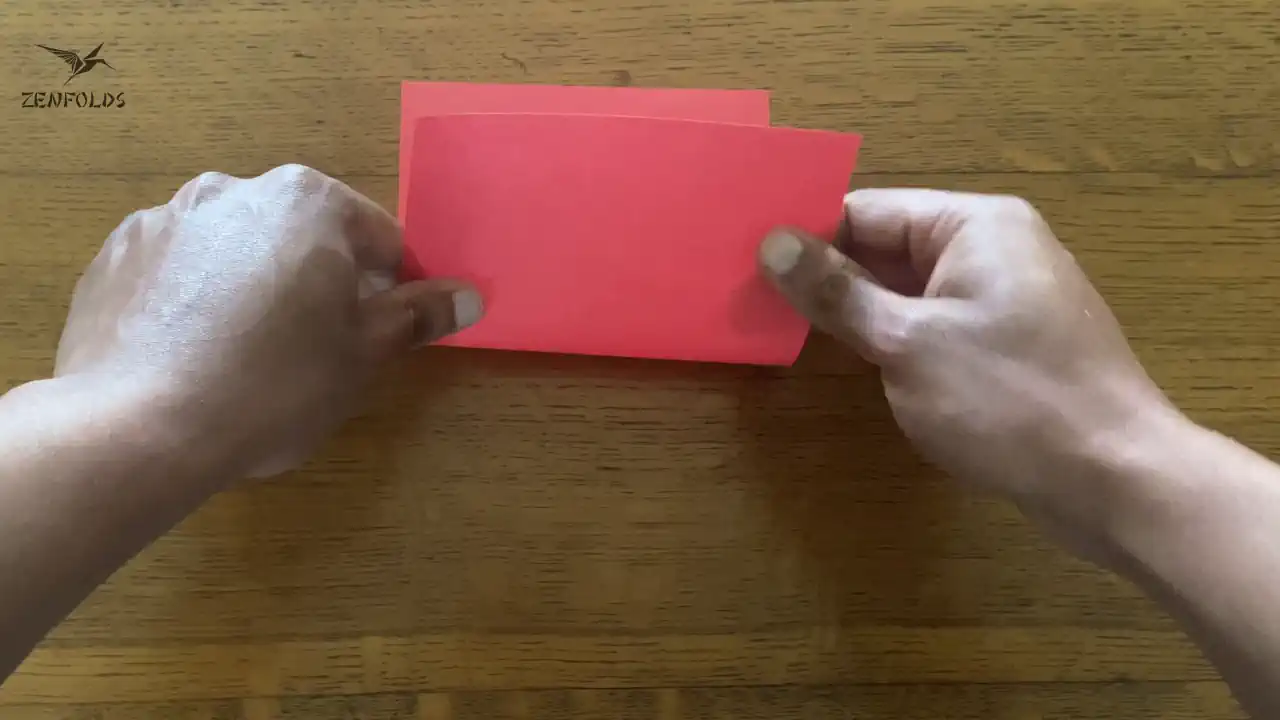
- Now fold the right side diagonally so that it lies in line with the bottom edge of the sheet.
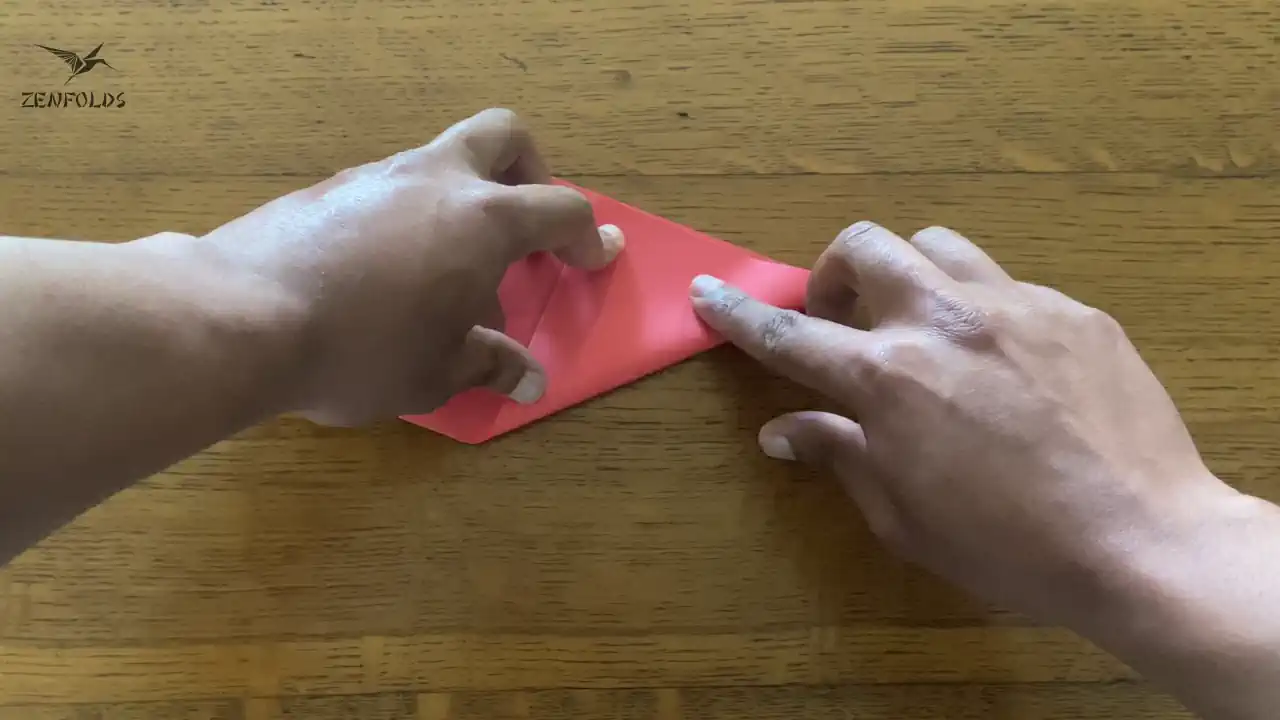
- Unfold step 3.
- Slightly unfold the crease made in Step 2.
- You will notice you have three creases. A mountain fold from Step 2, a mountain fold from Step 3, and a valley fold from Step 3.
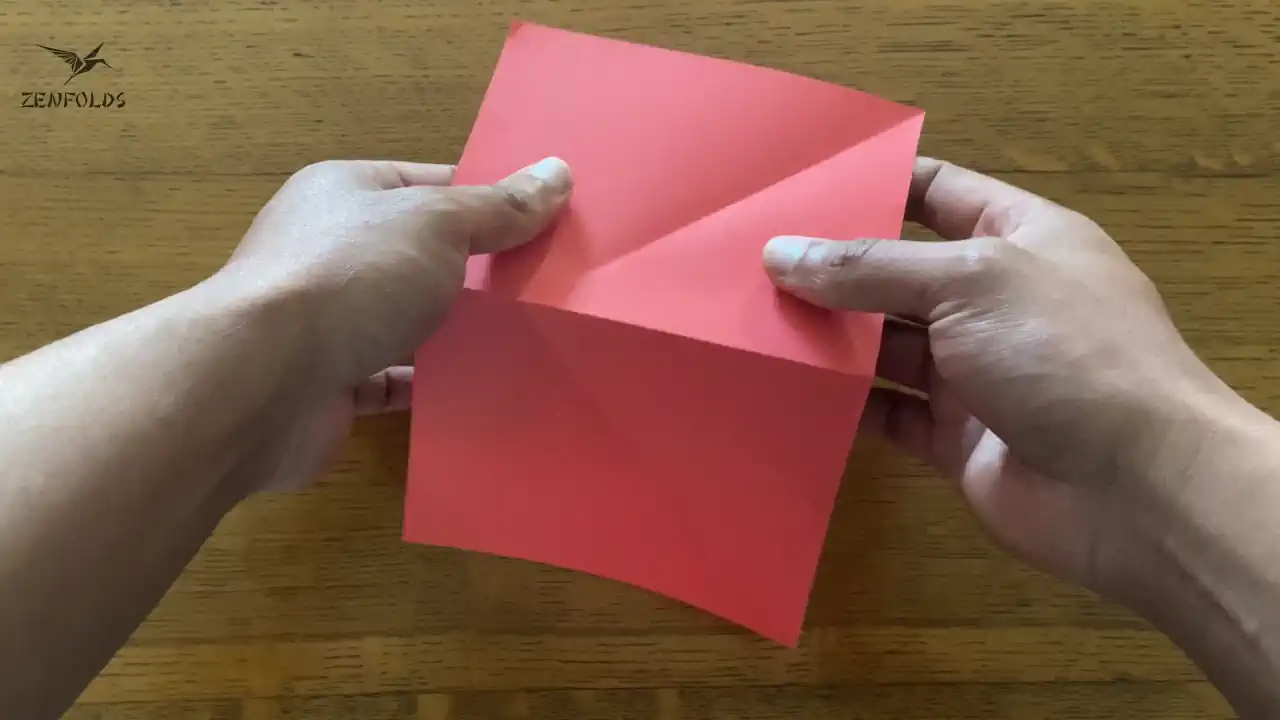
Turn the valley fold from Step 3 into a mountain fold.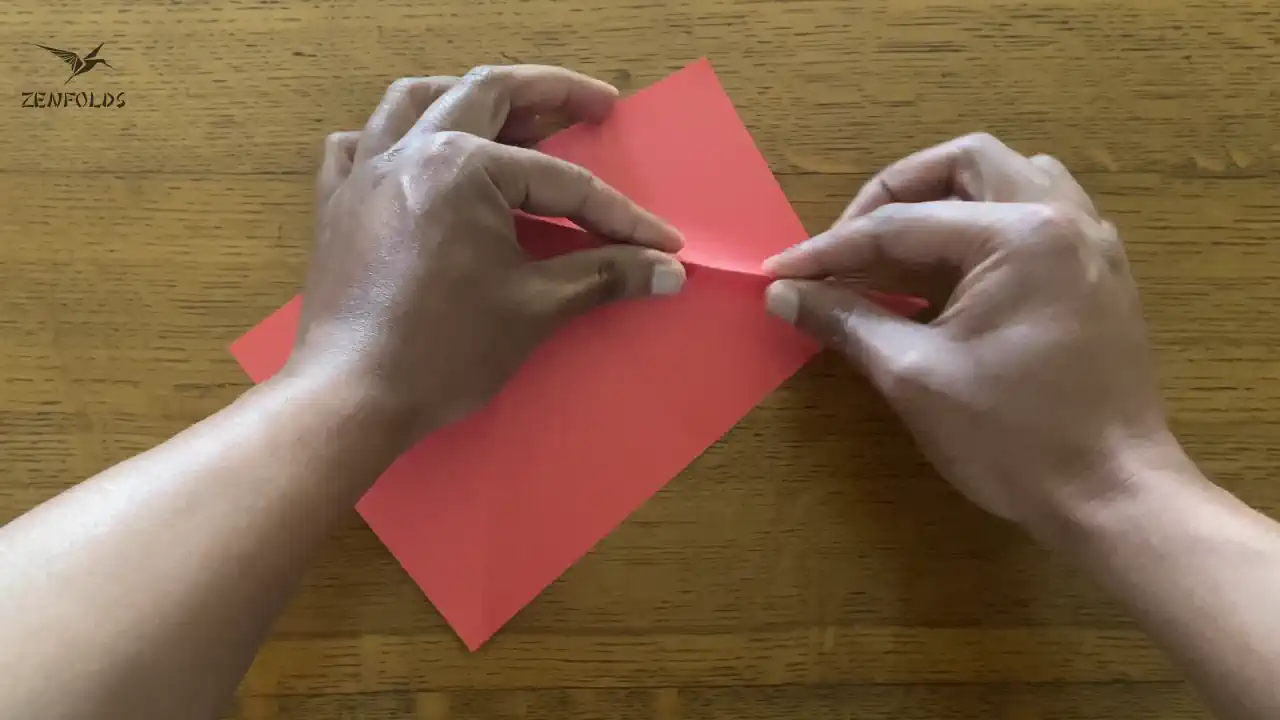
- Now turn the mountain fold from step 2 into a valley fold only up to the point where the creases from Step 3 intersect.
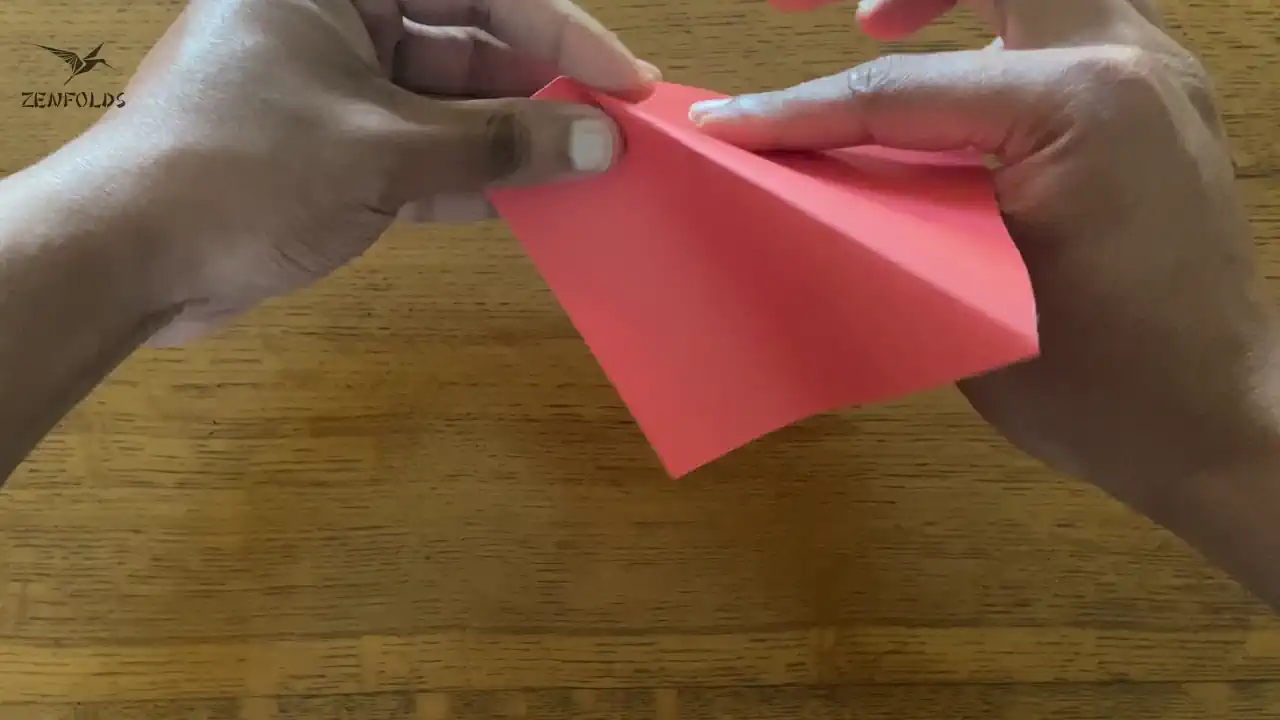
- Now simply push the valley fold from Step 7 inward until the two outer corners come together.
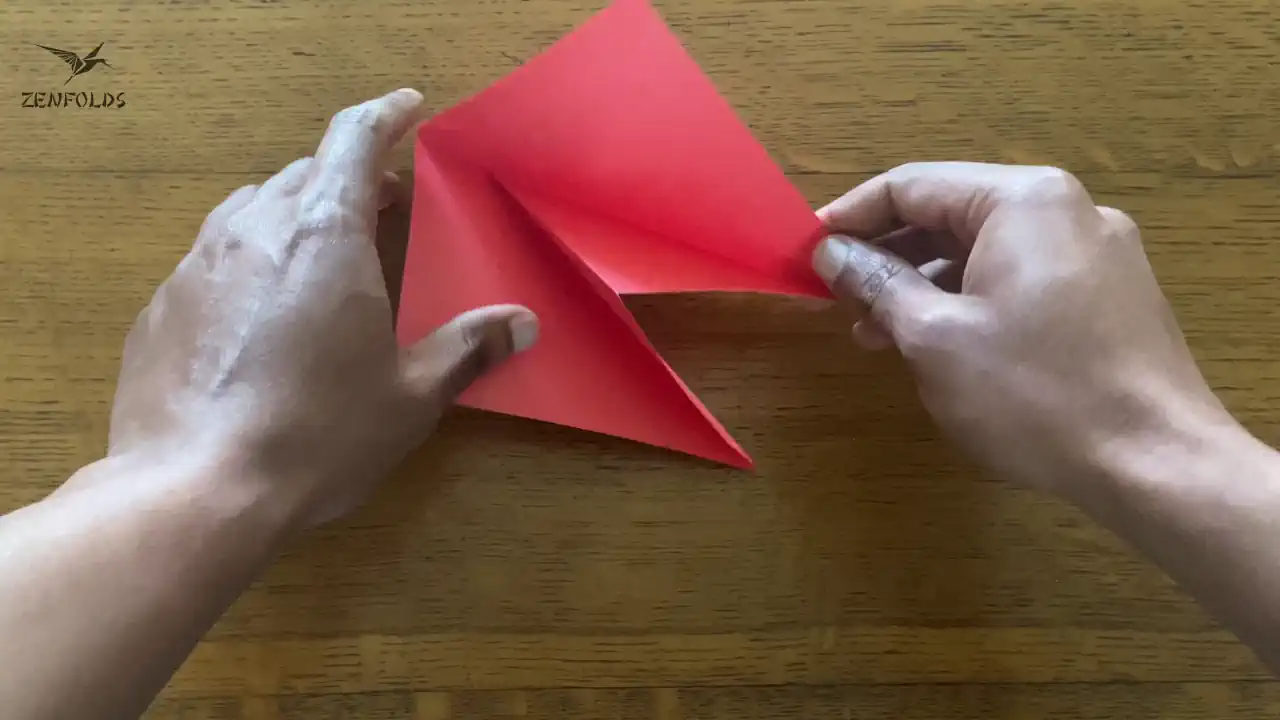
- Flatten the paper and you are done!
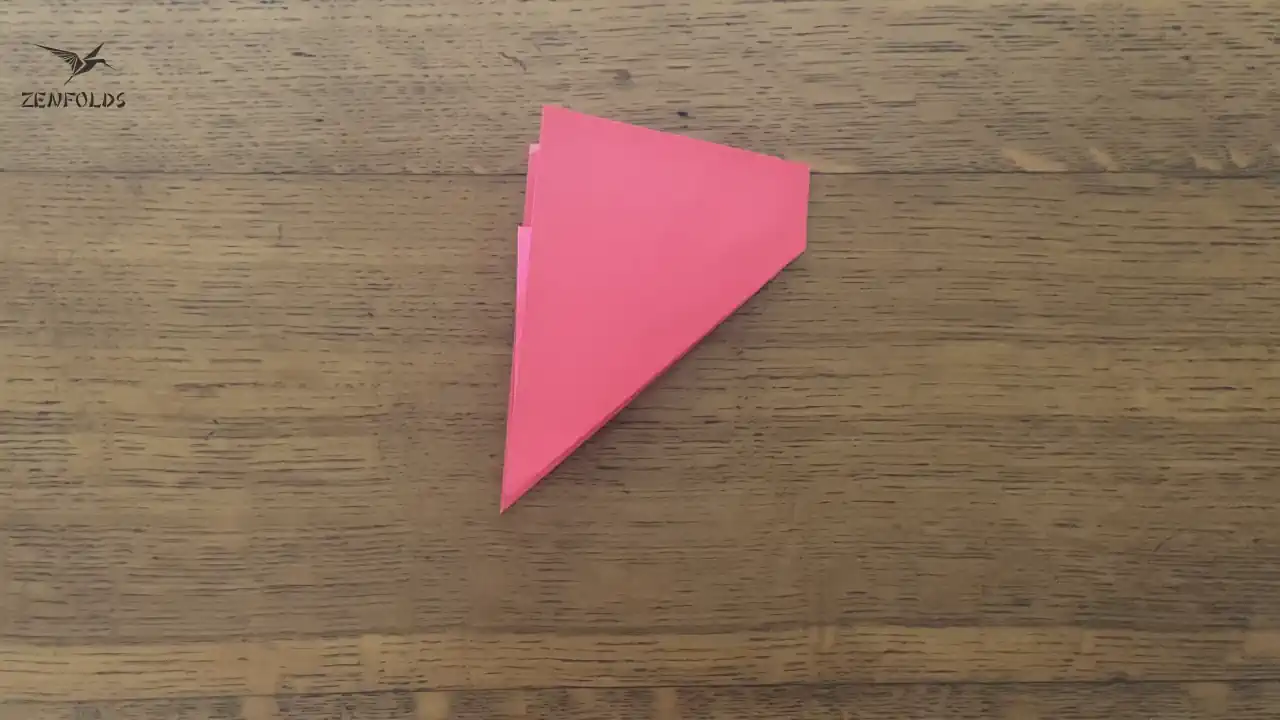
Folding a Point
- Start with a Kite base.
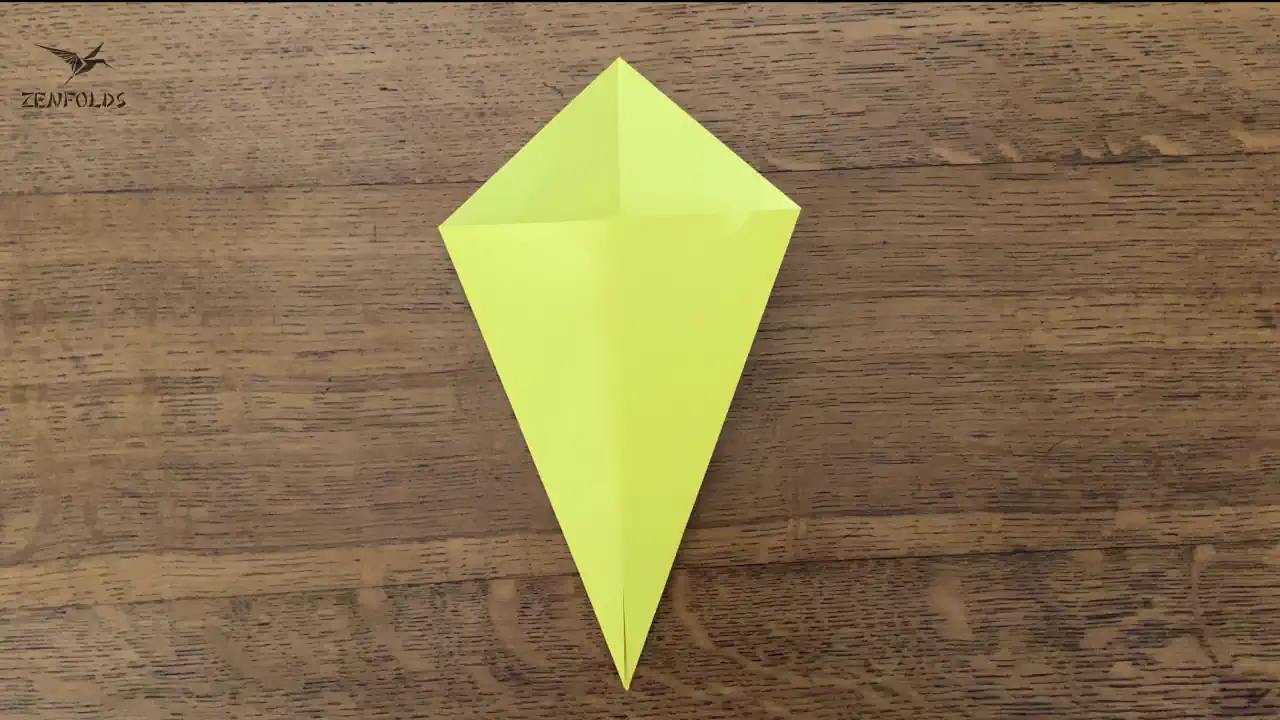
- Fold the kite in half along the center crease, then rotate 90 counterclockwise.
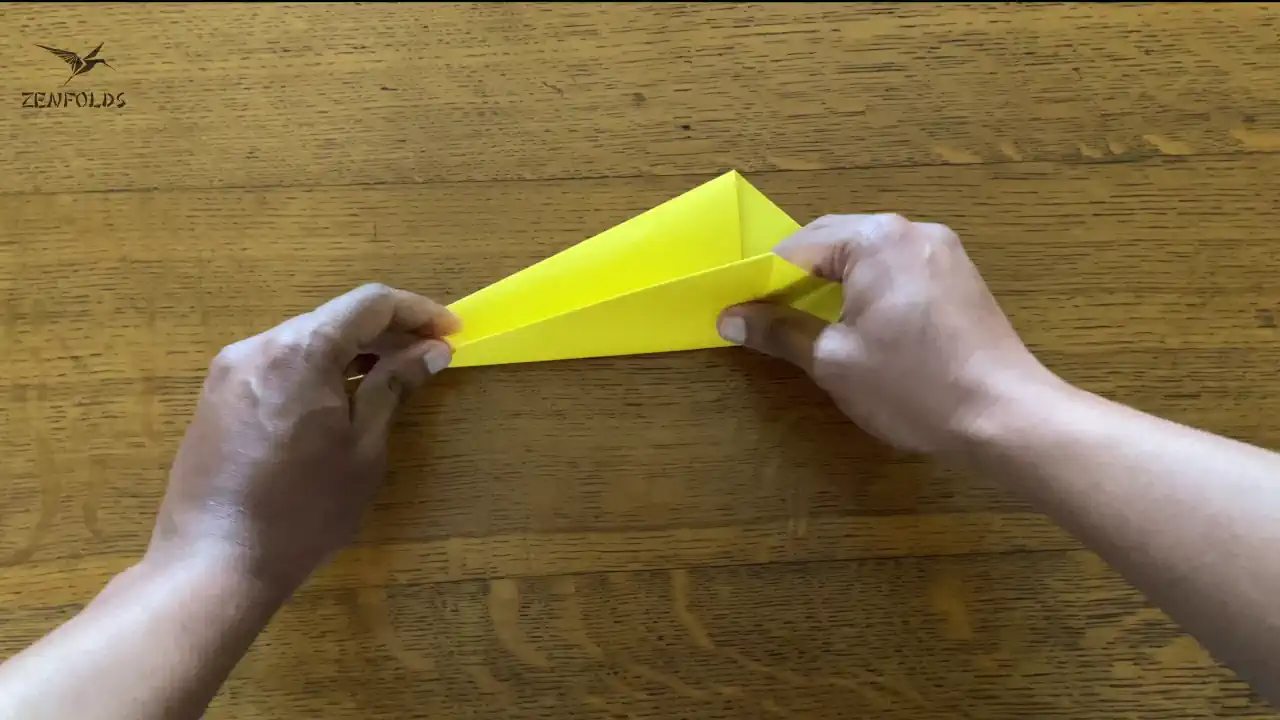
- Make a valley fold, by folding the point so that it now faces downwards.
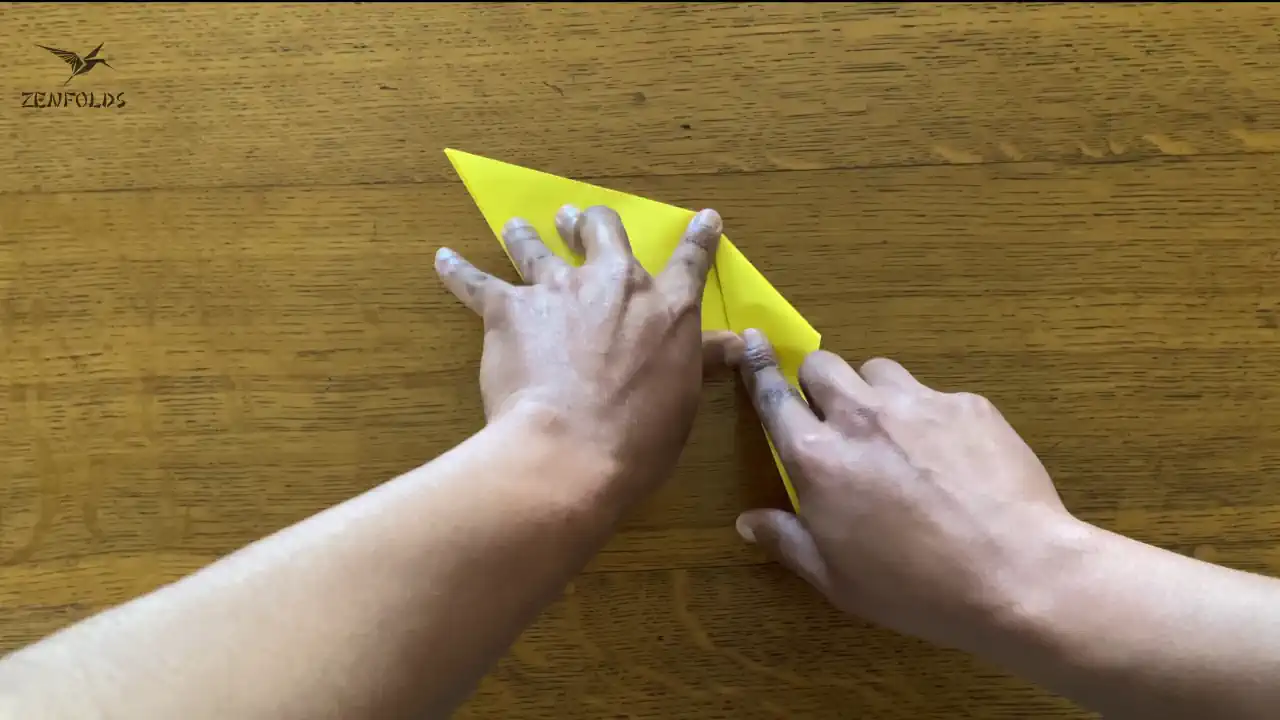
- Unfold step 3.
- Slightly unfold the kite.
- You will notice you have three creases. A mountain fold from Step 2, a mountain fold from Step 3, and a valley fold from Step 3.
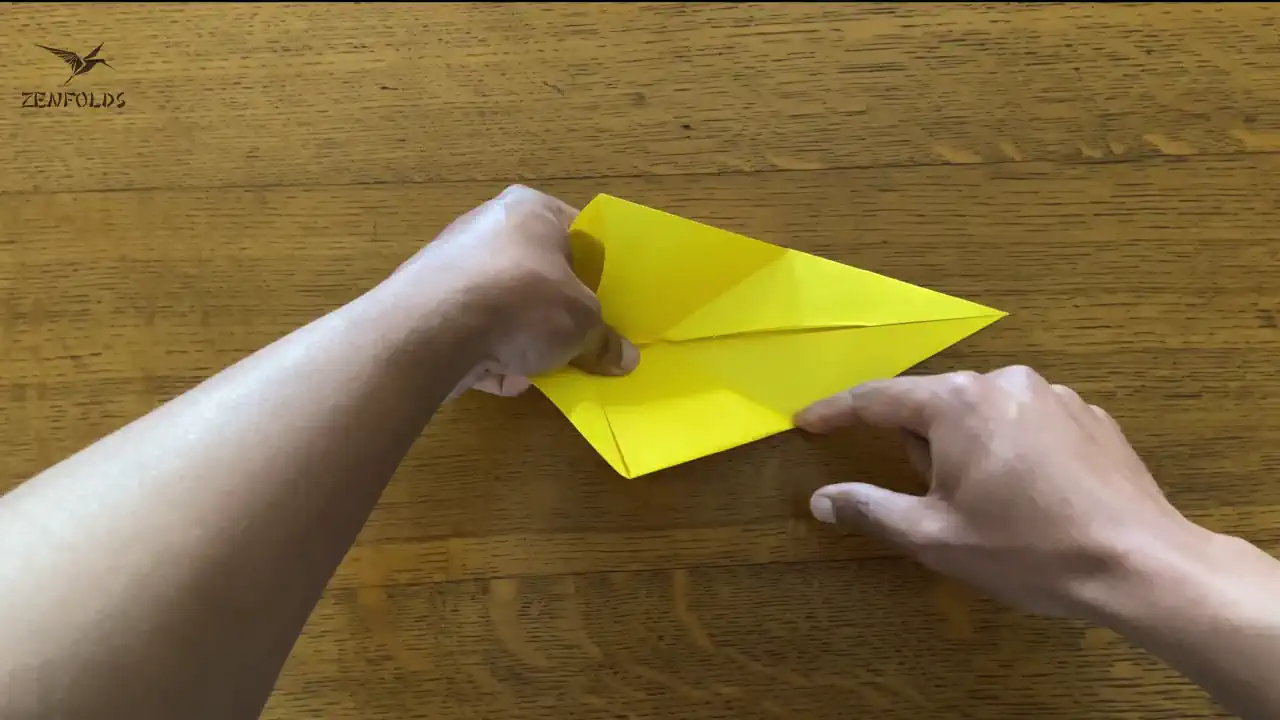
Turn the mountain fold on the inside from Step 3 into a valley fold.
This will leave you with two valley folds on the inside.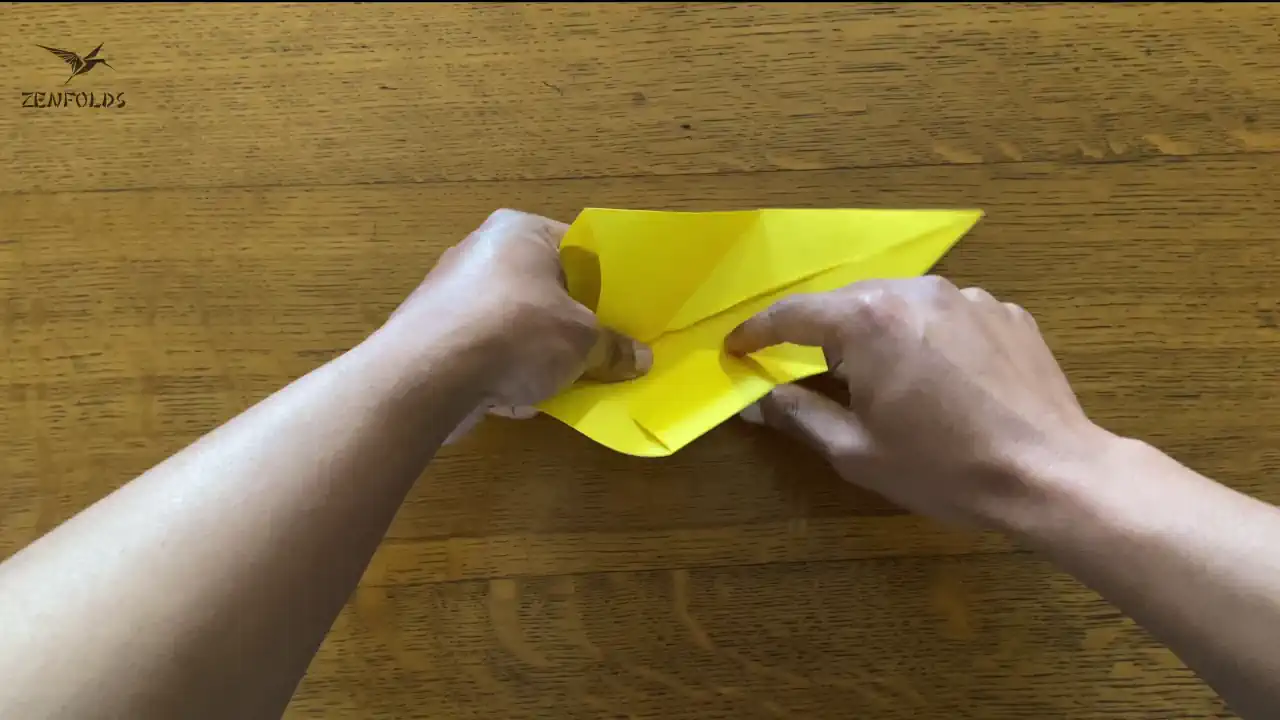
- Now turn the valley fold on the spine from Step 2 into a mountain fold only up to the point where the creases from Step 3 intersect.
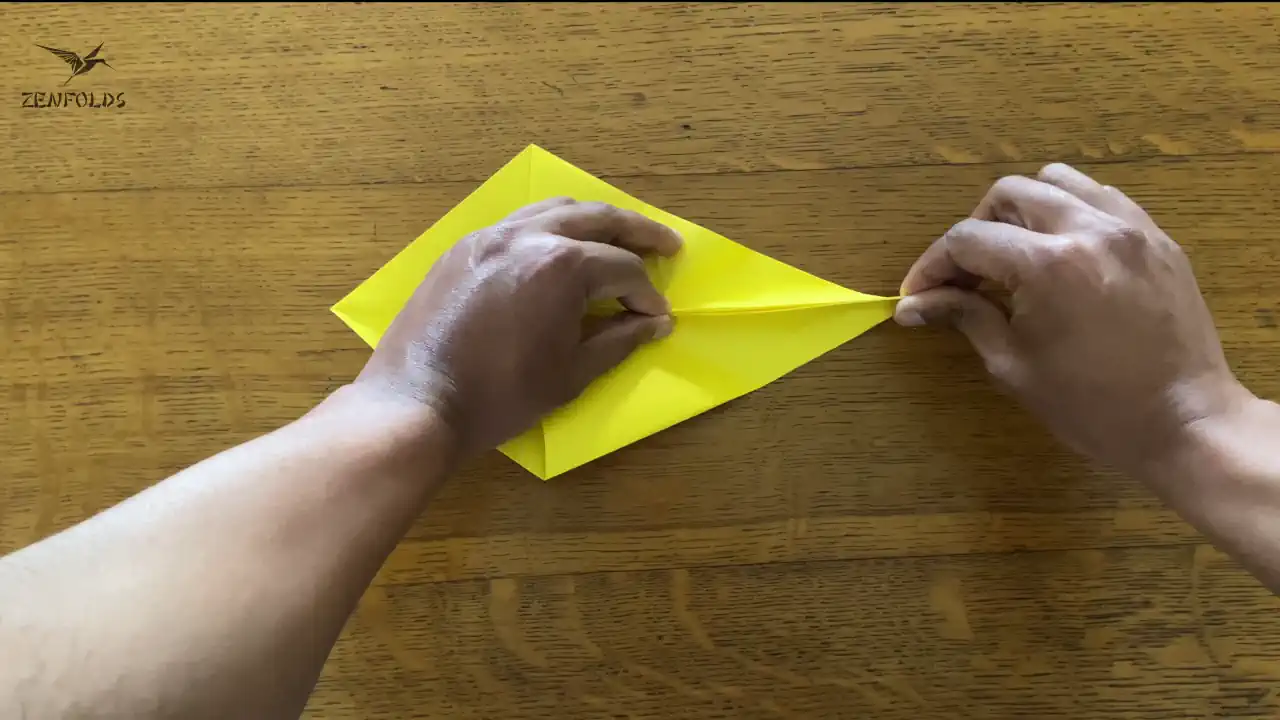
- Now simply push the valley fold from Step 7 inward until the two outer corners come together.

- Flatten the paper.
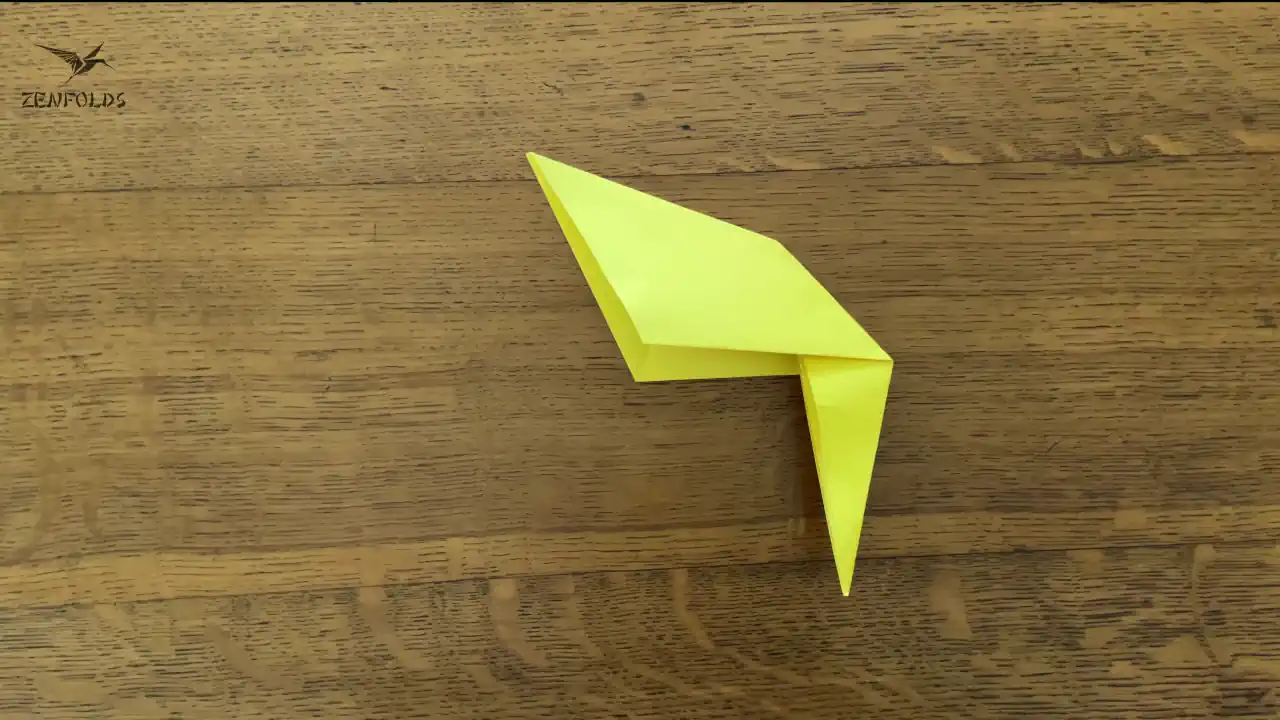
And that is the two methods of inside reverse folds. The next lesson is the Outside Reverse Fold, which is basically the inverse of folding a point.

Kevin Pang is a graduate of The University of California, Berkeley, with a BA in Fine Arts. His journey into the world of arts and crafts began during his early years when he discovered a deep fascination for the intricate beauty of origami as a child. His unique blend of artistic talent and analytical thinking allows him to provide creative insights and guidance on a wide range of artistic and craft-related topics.
Kevin has spent years immersing himself in the study of various art forms, from the delicate folds of origami to the patient artistry of bonsai cultivation. Over time, Kevin honed his expertise through extensive practice, experimentation, and a deep appreciation for the zen-like qualities inherent in these art forms.
When he’s not engrossed in the world of arts and crafts and crafting engaging content for Zenfolds, Kevin enjoys spending quality time outdoors, going on hikes and walking his dog. He also relishes connecting with like-minded individuals who share his passion for the arts and the meditative joy they bring.

