The Mountain (also known as the reverse fold) is the second fundamental Origami fold. It is the complete opposite of the Valley fold. What makes it different is that you fold the paper outwards, creating a “M” or mountain-like crease. Mountain folds are represented by dots “••••••••” on Origami diagrams.
Step-By-Step On How To Make A Mountain Fold In Origami
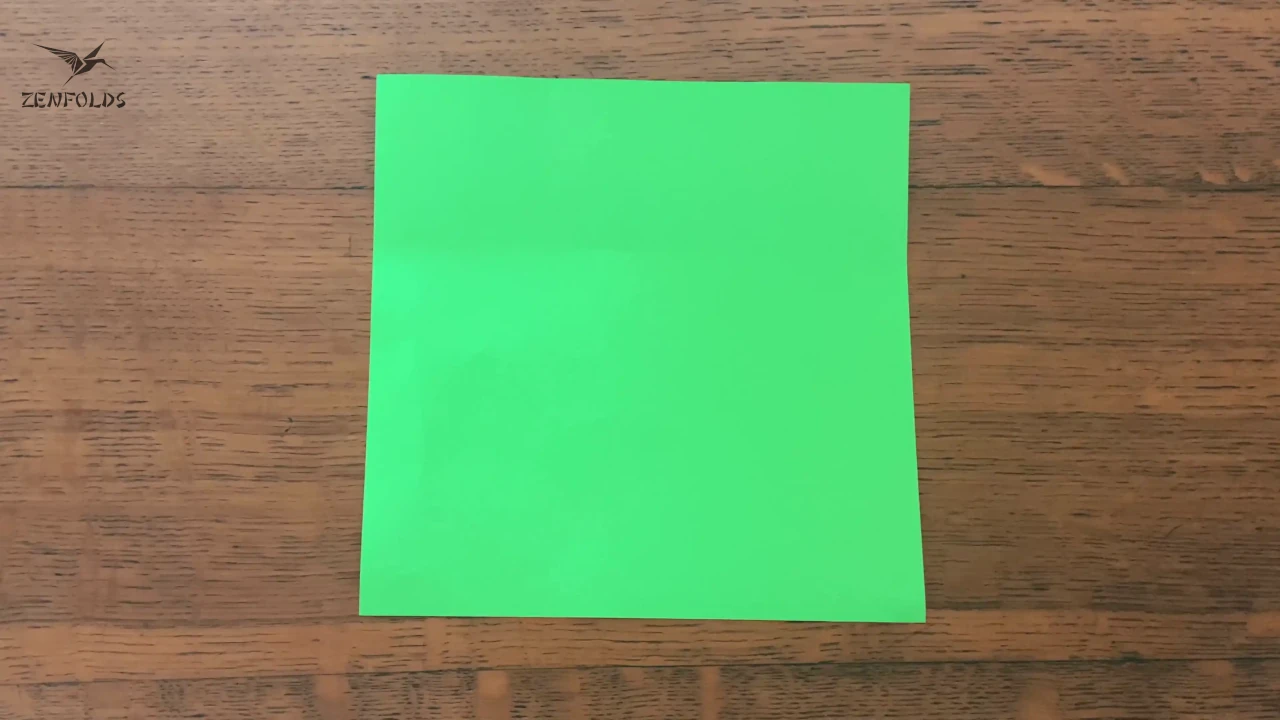
- Start with a square sheet.

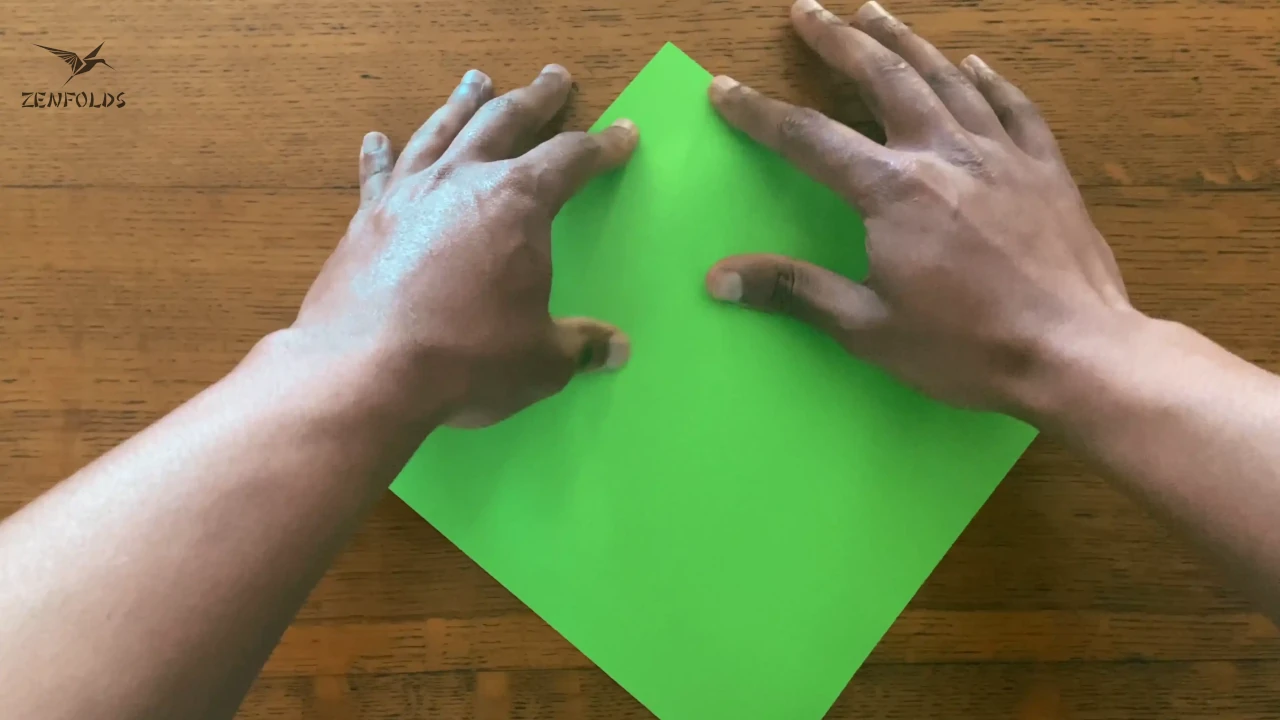
- Use your fingers and thumbs to hold the ends of the crease you intend to make.

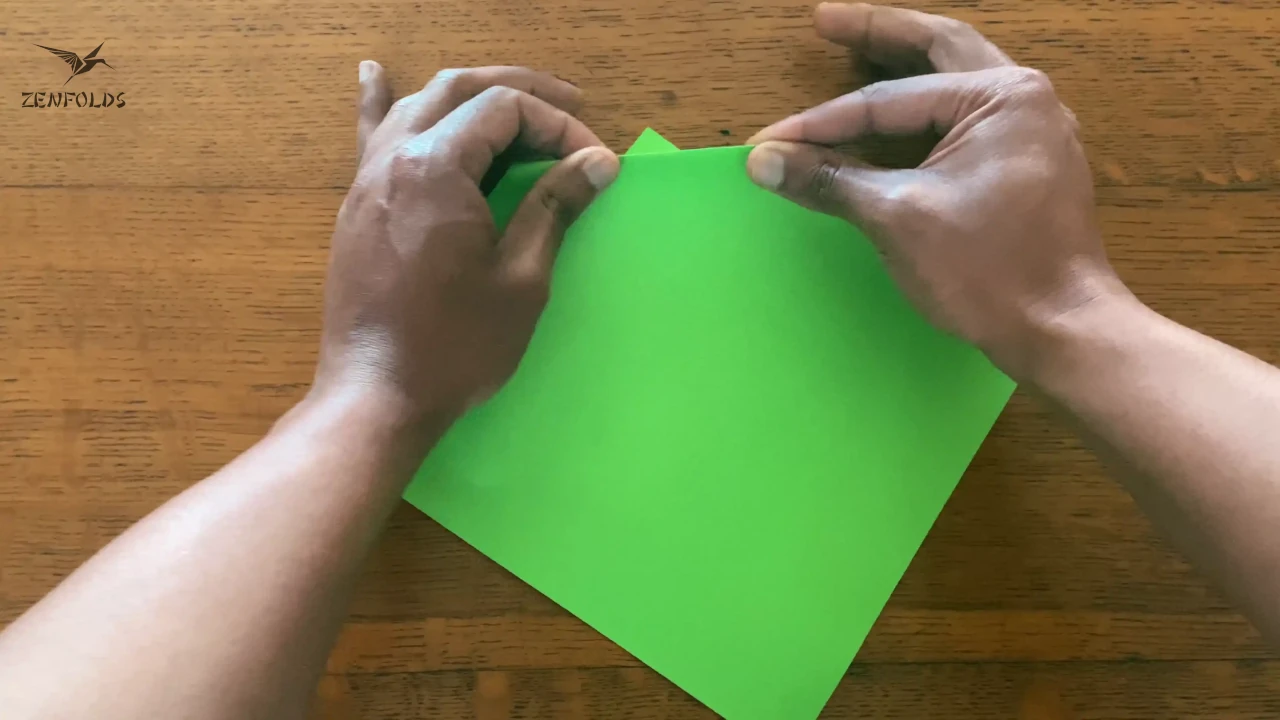
- Fold the paper behind, while pinching in the fold.

- Smooth out the crease.

- The completed Mountain fold.

Congratulations! You have now completed the two most basic Origami folds. Next up, is the often overlooked yet fundamental creasing and dividing techniques.

Kevin Pang is a graduate of The University of California, Berkeley, with a BA in Fine Arts. His journey into the world of arts and crafts began during his early years when he discovered a deep fascination for the intricate beauty of origami as a child. His unique blend of artistic talent and analytical thinking allows him to provide creative insights and guidance on a wide range of artistic and craft-related topics.
Kevin has spent years immersing himself in the study of various art forms, from the delicate folds of origami to the patient artistry of bonsai cultivation. Over time, Kevin honed his expertise through extensive practice, experimentation, and a deep appreciation for the zen-like qualities inherent in these art forms.
When he’s not engrossed in the world of arts and crafts and crafting engaging content for Zenfolds, Kevin enjoys spending quality time outdoors, going on hikes and walking his dog. He also relishes connecting with like-minded individuals who share his passion for the arts and the meditative joy they bring.
